Summary
Learn how to import motion studies directly into SOLIDWORKS Visualize Professional and save time creating high-quality animations.
Import Motion Studies with SOLIDWORKS Visualize Professional
Sometimes we set up motion studies or animations in SOLIDWORKS that would look incredible with the SOLIDWORKS Visualize rendering engine.
Did you know that if you have a SOLIDWORKS Visualize Professional license, you can import motion studies directly into SOLIDWORKS Visualize? It is a relatively quick process and can save you a lot of time by not having to redo keyframes before you render.
Enabling the SOLIDWORKS Visualize Add-In for SOLIDWORKS
The ability to send animations is one of my favorite parts of using the Visualize add-in for SOLIDWORKS; however, before doing so, you need to enable the add-in.
To enable the add-in in you can go to Tools > Add-Ins in SOLIDWORKS, and enable it. You can use the left side box to make it active only in this session or the right side box to make it active each time you launch SOLIDWORKS.
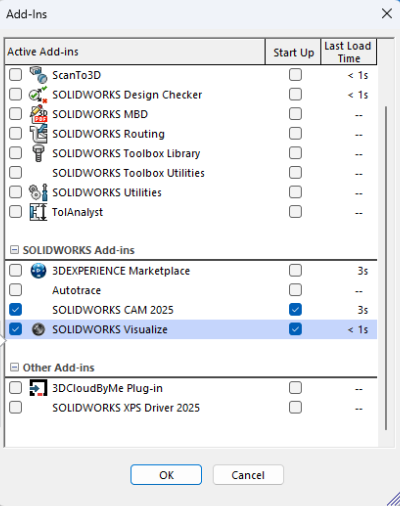 Enabling the SOLIDWORKS Visualize add-in for SOLIDWORKS
I recommend only enabling things you use on a regular basis at startup up as you will notice the column beside the check mark indicates how much load time is added to the SOLIDWORKS startup with each add-in. Enabling a large number of these will cause SOLIDWORKS to launch slower so choose to enable them wisely and with intention.
How to Import Motion Studies into SOLIDWORKS Visualize
With my add-in enabled, I can go to the SOLIDWORKS Visualize tab of the Command Manager and click the Export Advanced command. If you do not see the SOLIDWORKS Visualize tab, you will need to customize the SOLIDWORKS Command Manager to make sure it is visible.
After clicking Export Advanced, I will get a pop-up window with a drop-down that will allow me to select the motion study. If you have no plans to import an existing study and want to rebuild it from scratch in SOLIDWORKS Visualize, “None” is an option.
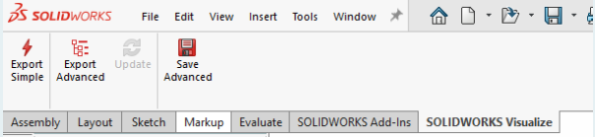 The SOLIDWORKS Visualize tab of the Command Manager
From the menu, I will select the animation I would like to render, and when I proceed, SOLIDWORKS Visualize will launch automatically. If the SOLIDWORKS motion study has been adjusted and not resimulated, a warning will appear to let you recalculate before transferring.
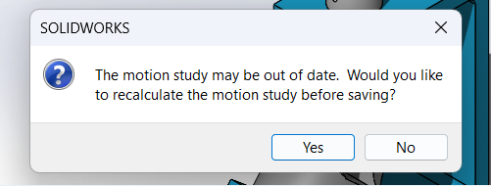 Recalculating the motion study before importing
After recalculating and ensuring the study will process correctly, the model will be imported into SOLIDWORKS Visualize.
Showing the Motion Study Timeline
If you do not see the motion study right away, do not worry. If you right-click in the viewport, there will be an option listed that says Animation. Selecting Add Keyframe to call up the timeline so you can see all the frames from the animation. You can also use this menu to manually animate the assembly in Visualize Professional.
 SOLIDWORKS Visualize
Opening an Existing Motion Study
By default, a standard timeline will be shown, but this is the native timeline with no keyframes or animations added. To switch to the existing motion study from the SOLIDWORKS assembly, you can select it from the drop-down menu on the timeline.
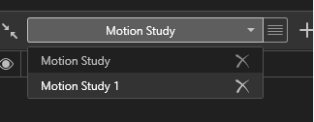 Switching the motion study shown in SOLIDWORKS Visualize
The time stamps are carried through from the original motion study, and you can scrub through the timeline in SOLIDWORKS Visualize. Now we can alter the scene, update textures, add extra lighting, and even add camera work without having to redo the animation!
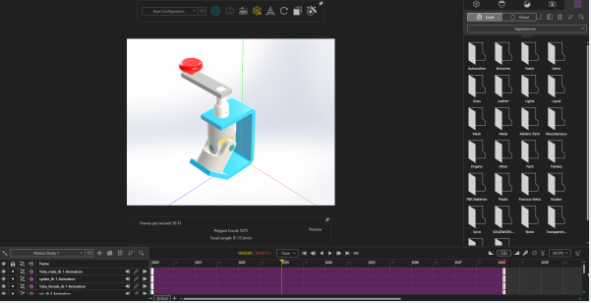 An imported motion study timeline
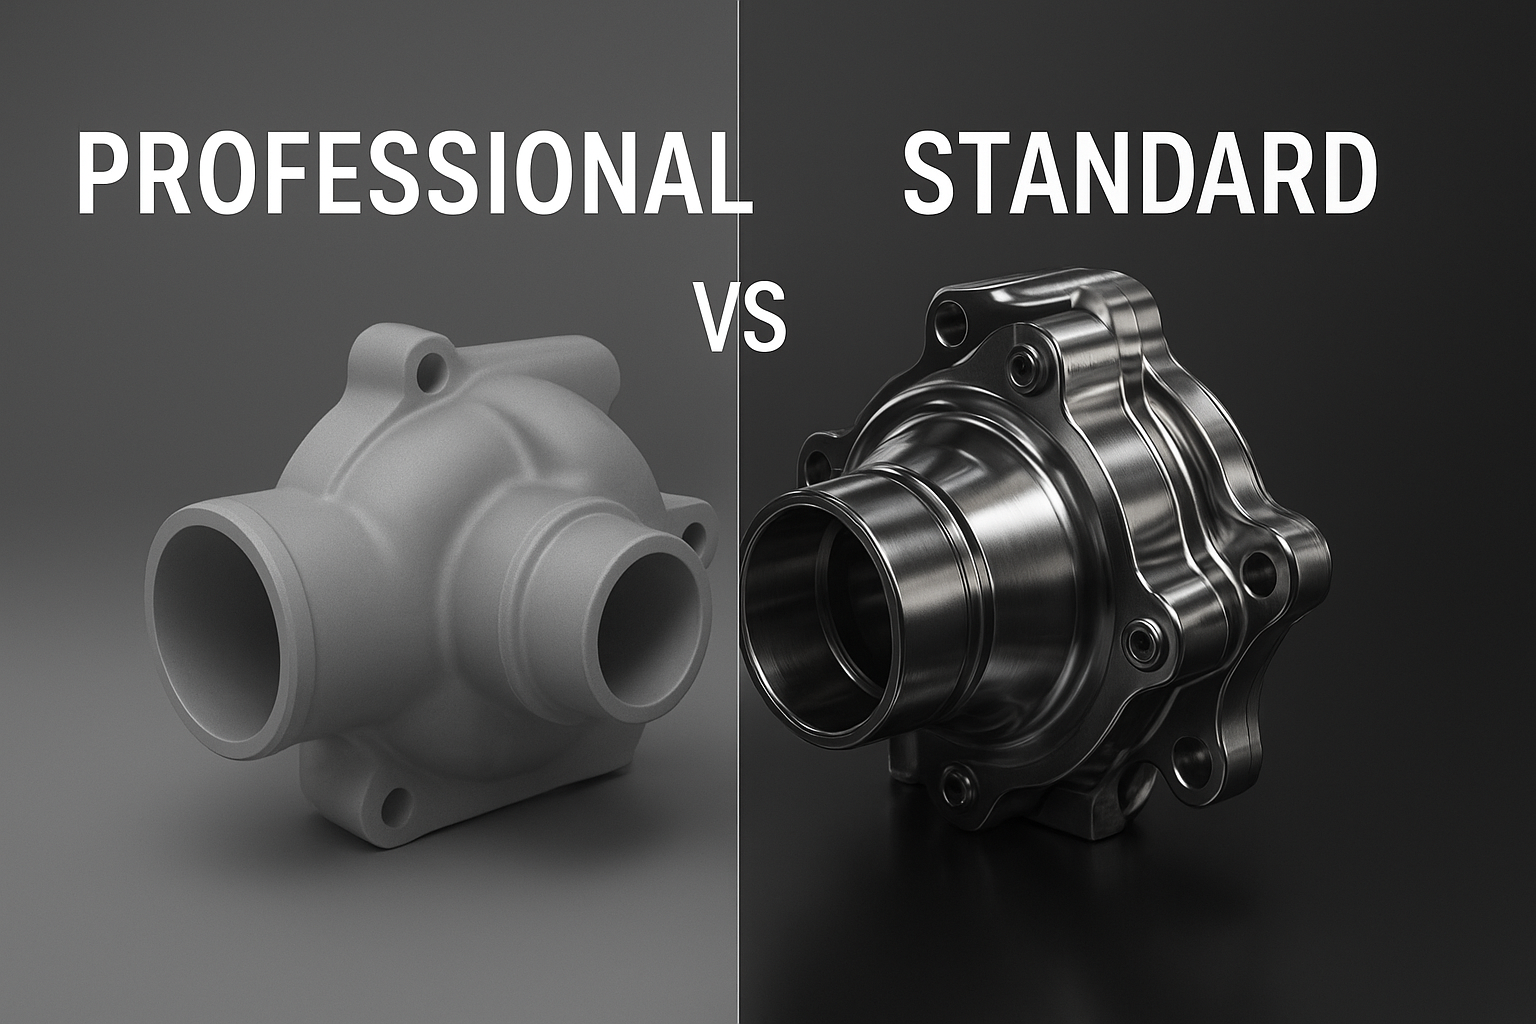
Animations are one of a few SOLIDWORKS Visualize Professional-only features that you would need to upgrade from SOLIDWORKS Visualize Standard to use. If you do not see the ability to create animations, double-check that you are using a Professional-level license.